Sublimation has a reputation for being finicky, and some of that is deserved. But a surprising share of failed first attempts trace back to a shopping list rather than to technique. People buy a printer and a pack of blanks, skip two unglamorous items in the middle, and then wonder why the colours are dull and the design has ghosted. This is what needs to be in the box before you press anything.
The shopping list, item by item
- Sublimation Paper, 8.5″ x 11″, 30 sheets — the small pack to start on. You will waste sheets learning to mirror and position a design, and this is the cheapest way to do that.
- Sublimation Paper A4, 8.5″ x 11″, 150 sheets — the restock, once the basics are working and running out mid-project has become the annoyance.
- Sublimation Coating Spray for Cotton Shirts, 150ml — the only way to get sublimation onto untreated cotton. Optional, but it is what opens up cotton garments.
- Sublimation Mug Blanks, 11oz, 6 pack — the most forgiving first blank. A uniform surface, no seams, and six attempts at the same shape.
- Sublimation Tumbler Blanks, skinny straight, 20oz, 4 pack — the natural next step, and straight-sided tumblers are far easier to press evenly than tapered ones.
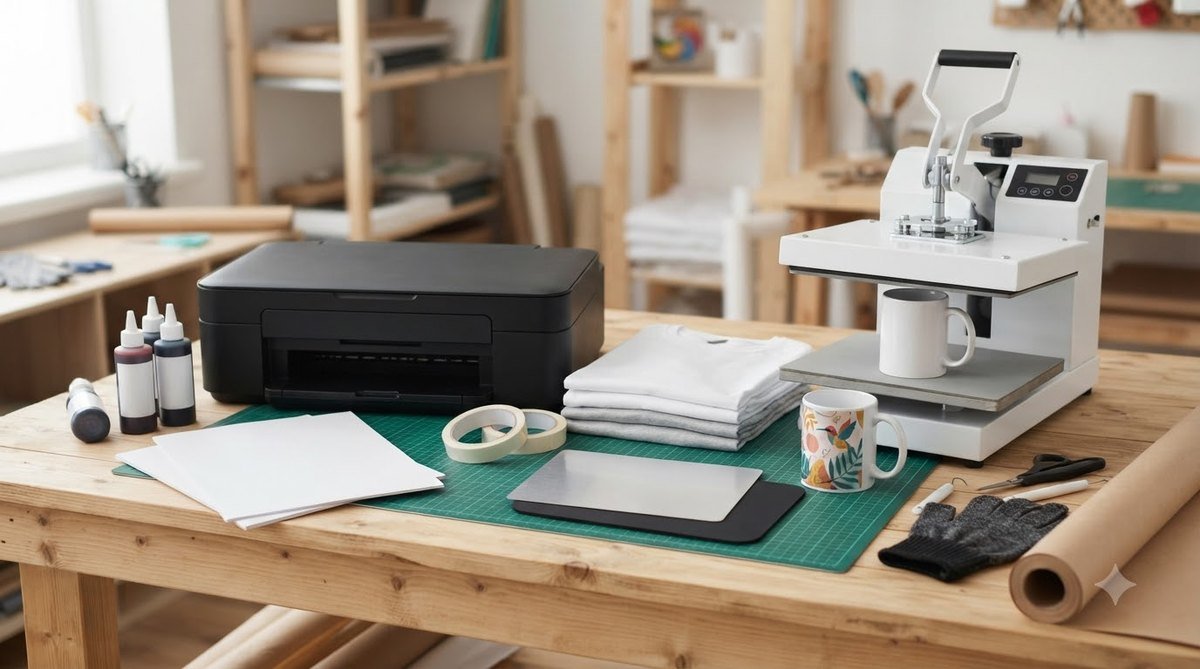
Two more things belong in the same order and rarely make it: heat-resistant tape, and a protective sheet with a mat.
Paper is not interchangeable
Ordinary printer paper does not hold sublimation ink on the surface where it needs to sit; it absorbs it. The result is a transfer that looks fine on paper and washed out on the garment, because most of the ink never made the journey.
Proper sublimation paper is coated to hold ink until heat releases it. It comes in A4 and larger formats, in packs from small starter counts up to a hundred and fifty sheets.
The polyester rule, and the way around it
Sublimation ink bonds with polyester. On a high-polyester shirt or a coated mug it becomes part of the material, which is why the print does not crack or peel the way a vinyl transfer eventually can. On pure cotton it simply washes out.
That leaves two paths. Either buy blanks made for the job, which is the reliable route, or use a coating spray on cotton to give the ink something to bond to. The spray works, with the honest caveat that results vary more than on a proper blank and that an even coat takes practice. Most people do both: blanks for anything they are selling, spray for experiments.
Start with blanks that are hard to ruin
Mugs and tumblers are more forgiving than garments, because the surface is uniform and there are no seams to press around. A pack of mug or tumbler blanks gives you several tries at the same shape, which is what learning needs. Glass blanks with bamboo lids and canvas tote bags sit at the other end, looking impressive but punishing small errors in placement. Worth making, just not first.
The two items everyone skips
Heat-resistant tape holds the transfer absolutely still. If the paper moves even fractionally under the press, the image ghosts, and a ghosted print cannot be rescued. A protective sheet does the reverse job, keeping ink off the platen so the next press does not pick up a faint copy of the last one. Both sit in the accessories range alongside the paper.
Settings are the real skill
Every material wants its own combination of temperature, time and pressure, and the numbers on a packet are a starting point rather than an answer. A mug press and a flat press behave differently at the same dial setting, because contact and heat retention are not the same.
Change one variable at a time. Faded colours usually mean the press needed longer or hotter. Blurred edges mean something moved. Shiny or scorched polyester means back the temperature off. A short log of what worked on which blank beats any tutorial, because it is specific to your machine.
What a realistic first session looks like
Expect to waste a few sheets and at least one blank. Print mirrored, tape it down, press, and note the time and temperature for each material, because those settings are the thing you are really building. Once a combination works, it works every time, and the finicky reputation stops applying.
We keep adding practical craft guides like this one on flauntchic, so check back when you move on to your next material.
 English