Introduction:
Contouring has taken the beauty world by storm, helping to define and enhance facial features, change face shapes, and ultimately, give you a more polished and put-together look. While it may seem intimidating at first, contouring is a skill that anyone can master with the right tools and techniques. In this blog post, we’ll be discussing the ins and outs of how to contour like a pro. From the basics of face mapping and product selection to advanced sculpting tricks, you’ll learn everything you need to know to achieve a perfectly chiseled look.
Face Mapping and Product Selection:
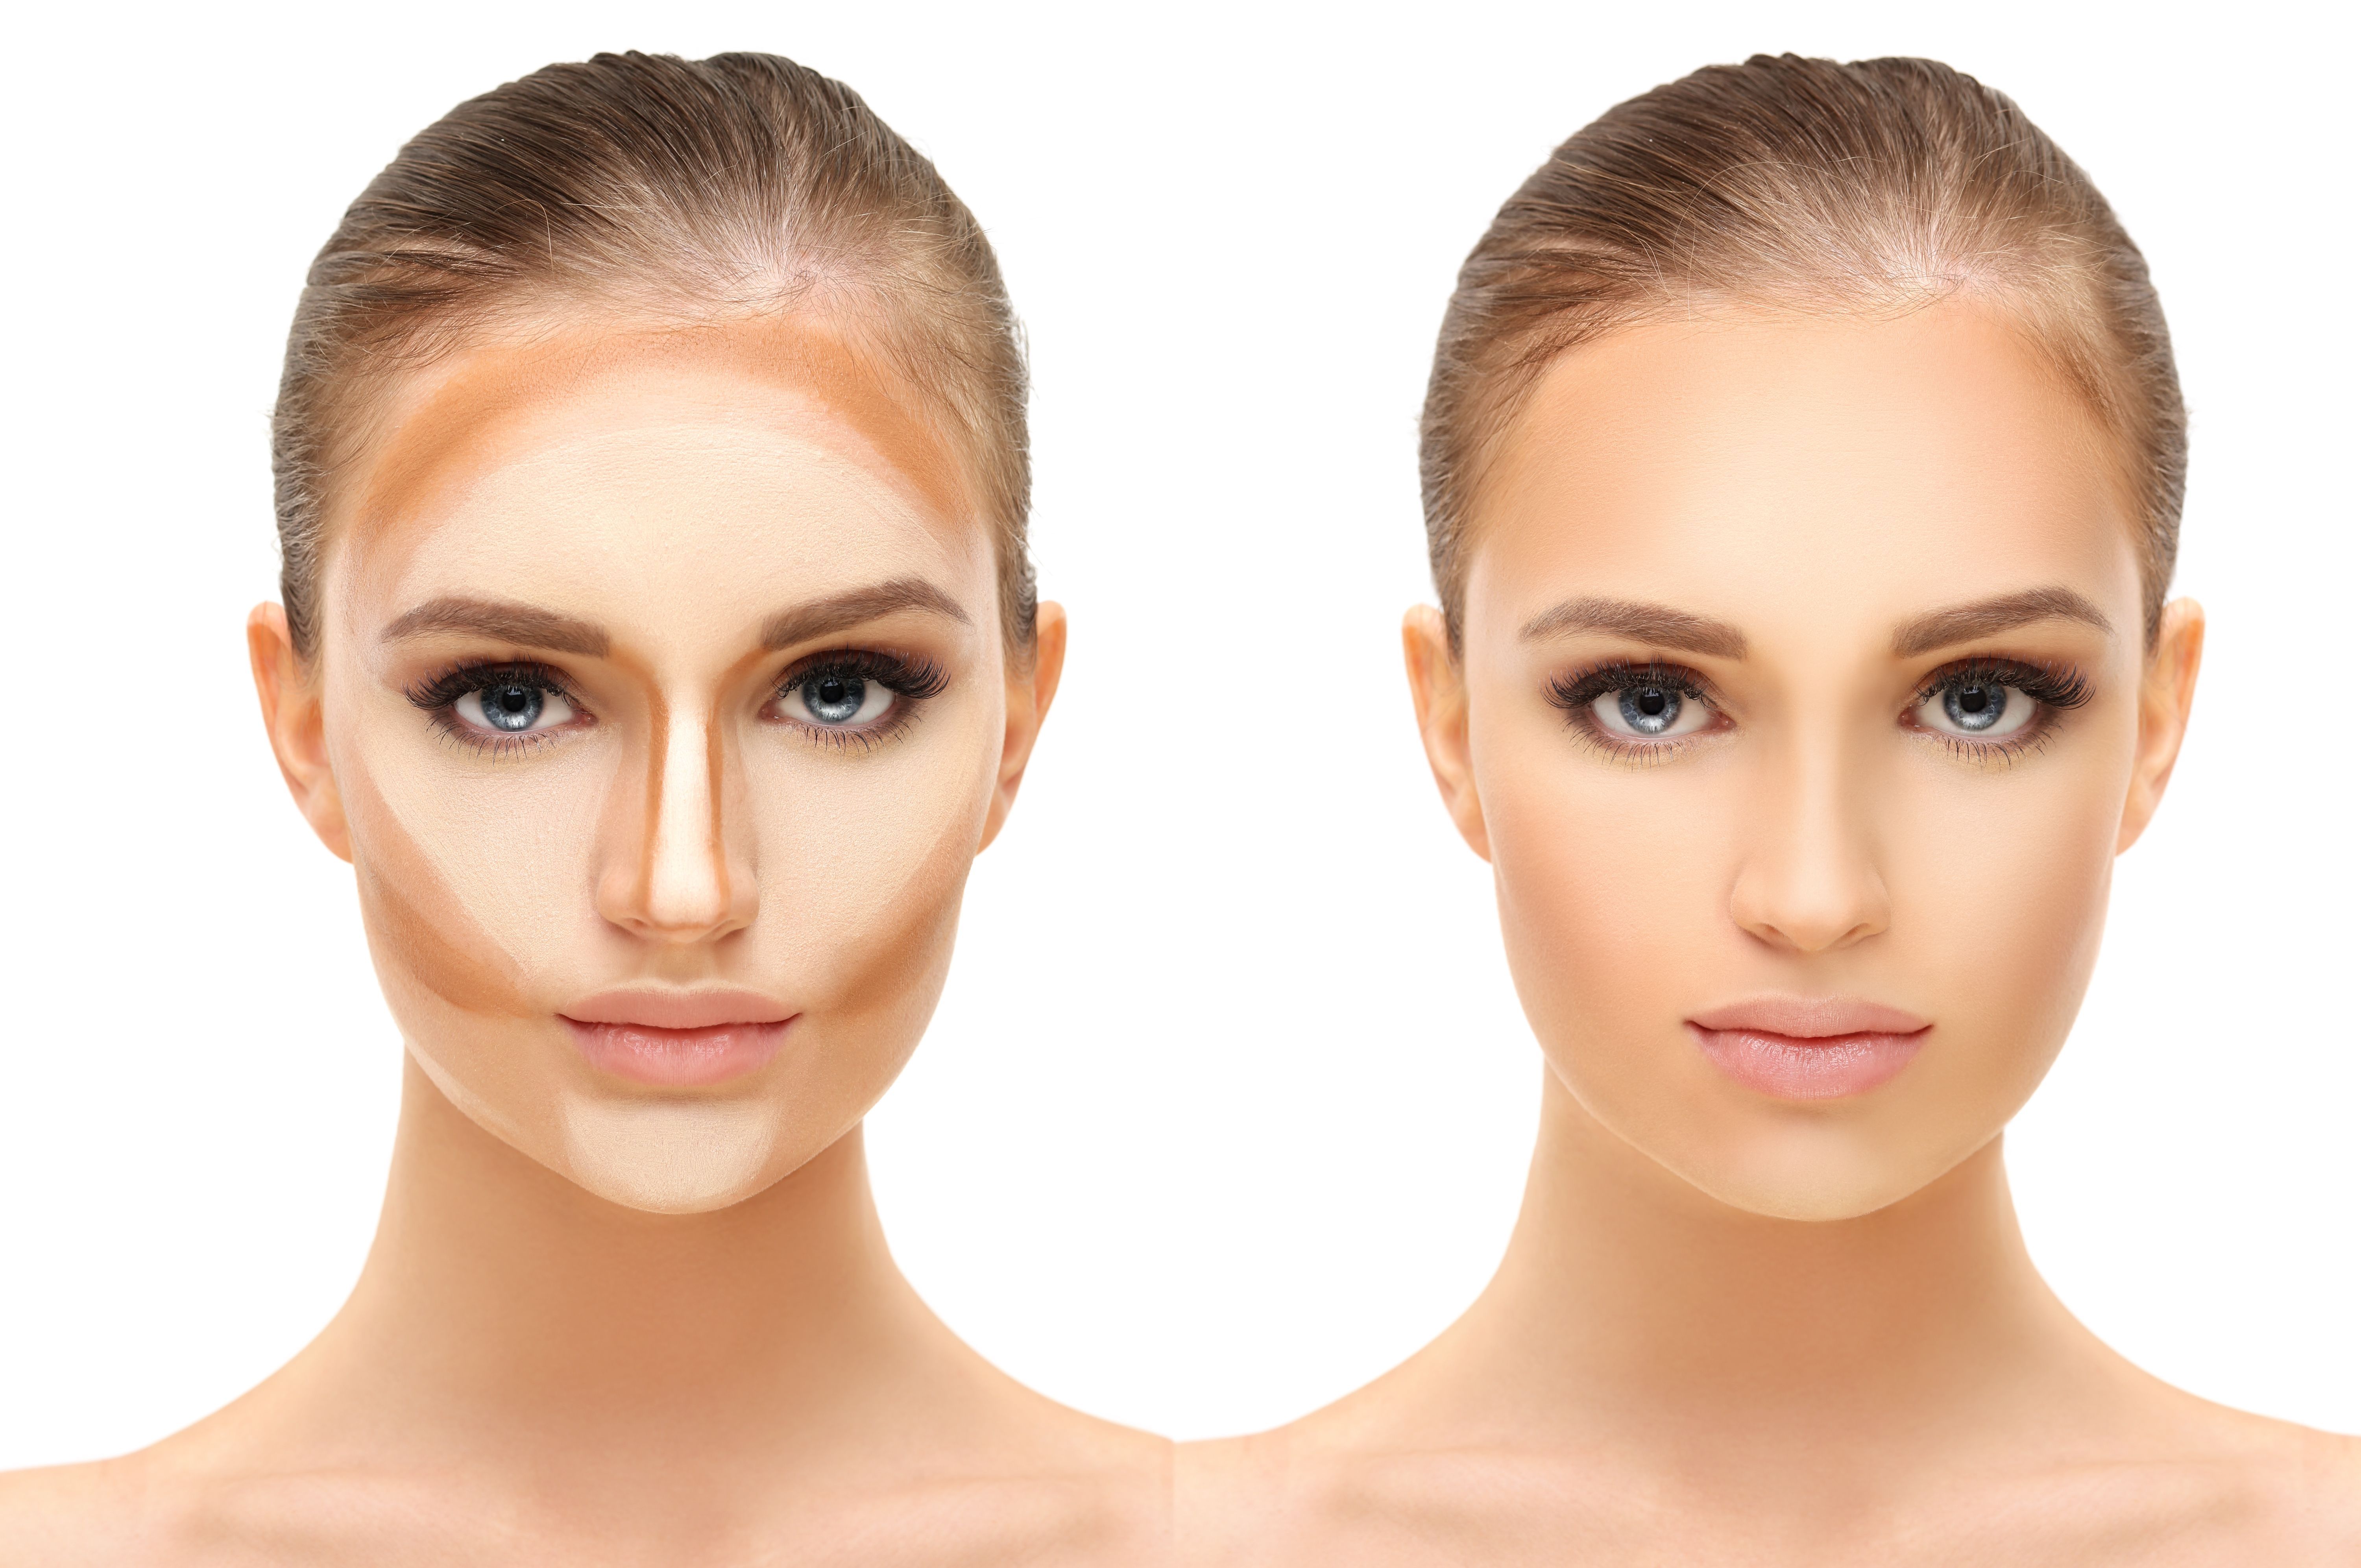
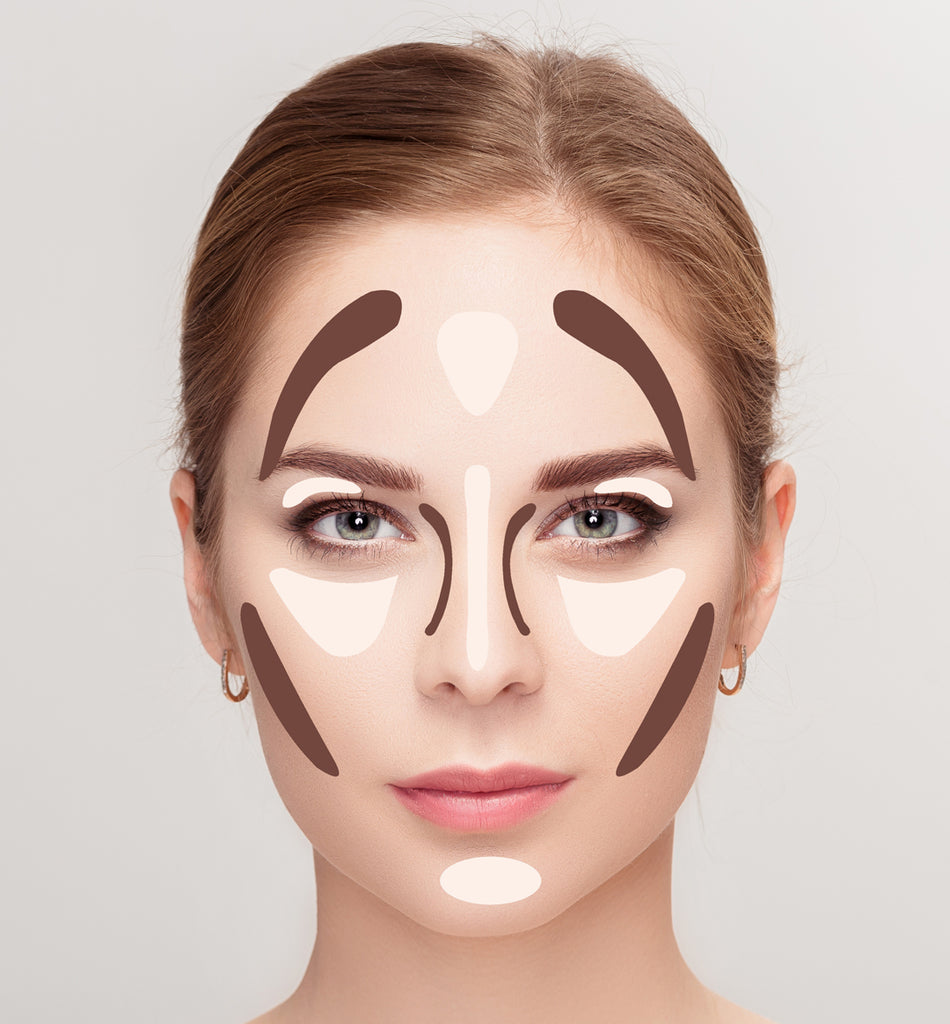
The key to perfect contouring lies in knowing your face shape and choosing the right products for your skin type and tone. First, start by analyzing your face shape and determining the areas you want to contour and highlight. Use a contouring map (or create your own) to help guide you in selecting the right products for each area. Generally, choose a matte, cool-toned powder or cream for contouring and a lighter, brighter shade for highlighting. Be sure to select products that blend well and complement your natural skin tone.
Blending and Tools:
The key to achieving a natural-looking contour is blending. After applying your contour and highlight products, use a blending brush or sponge to blend things out. Always blend towards your hairline to avoid harsh lines and to ensure everything looks seamless. Don’t skip the blending process, as this step is critical for achieving a perfectly sculpted look.
Layering and Building:
If you want to achieve a more intense contour, don’t be afraid to layer and build your products. Use a light hand when applying your initial layer, and gradually build up the intensity by adding additional layers. This will help you achieve a more full-bodied look while avoiding a heavy, cakey effect.
Advanced Contouring Techniques:
Once you’ve mastered the basics of contouring, you can experiment with advanced techniques to achieve even more intricate looks. For example, you can try draping, which involves contouring and highlighting using blush products instead of traditional contouring products. You can also try the reverse contour, which involves contouring the areas you would typically highlight to create a more sculpted and dimensional look.
Practice and Patience:
Like any skill, mastering contouring takes practice and patience. Don’t be afraid to try new techniques and experiment with different products. Watch tutorials from professional makeup artists and practice on yourself or a friend. With time and effort, you’ll master the art of contouring like a pro.
Conclusion:
Contouring can often seem daunting, but with the right tools and techniques, anyone can achieve a beautifully sculpted look. Remember to start with the basics of face mapping and product selection, focus on blending, and don’t be afraid to experiment with advanced techniques. With practice and patience, you’ll be a pro in no time. Happy sculpting!
